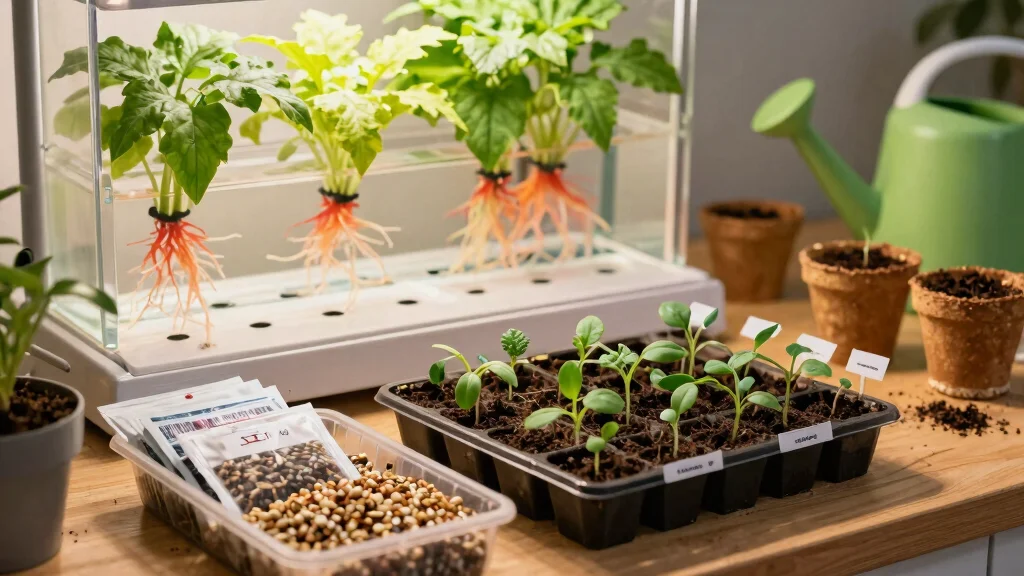
Planting seeds indoors has become a popular gardening trend, especially as spring approaches. The excitement of nurturing tiny seeds and watching them sprout into healthy seedlings is truly rewarding. With the right techniques and care, you can get a head start on your garden, even if the ground is still frozen outside. I put this post together because I know how satisfying it is to see your plants thrive before the warmer days arrive.
If you’re someone who loves indoor gardening or just starting to explore it, this guide is perfect for you. Whether you’re limited on outdoor space, want to extend your growing season, or simply enjoy the process of starting plants indoors, these tips will help you succeed. You’ll learn how to create the optimal environment for your seedlings and care for them until they’re ready to thrive outdoors.
In this guide, I’ve pulled together eight essential tips for planting seeds indoors that are practical, approachable, and sure to lead to happy, healthy plants. You’ll discover how to pick the right seeds, create the ideal growing conditions, and ensure your seedlings are strong enough for the great outdoors when spring arrives.
Key Takeaways
– Choose the Right Seeds: Select seeds that are suitable for indoor gardening and fit your climate and space.
– Create a Suitable Environment: Ensure your growing area has the right temperature, humidity, and light to promote healthy germination.
– Use Quality Seed-Starting Mix: A good seed-starting mix helps retain moisture and supports healthy root development.
– Water Wisely: Overwatering can harm seedlings; learn how to monitor moisture levels for optimal growth.
– Harden Off Your Seedlings: Gradually acclimate your seedlings to outdoor conditions to prepare them for transplanting.
Recommended Products

Miracle-Gro Indoor Potting Mix for Seed Starting grows stronger roots for seeding success (vs unfed when used as directed)

NUTRIENT-RICH, NATURAL, AND ORGANIC SOIL: Grow a bountiful garden in your home with the Back to the Roots All-Purpose Natural and Organic Peat-Free 3-in-1 Seed Starting Mix, packed with the nutrients needed for your plants, flowers, and vegetables to thrive

Includes Back to the Roots Compressed Seed Starting Potting Mix that expands to 12qt of soil. A balanced pH, which means it’s truly all-purpose. Use alone or as an amendment for anything in a pot or in the ground — vegetables, flowers, herbs, and even starting seeds.
1. Choose the Right Seeds for Indoor Gardening
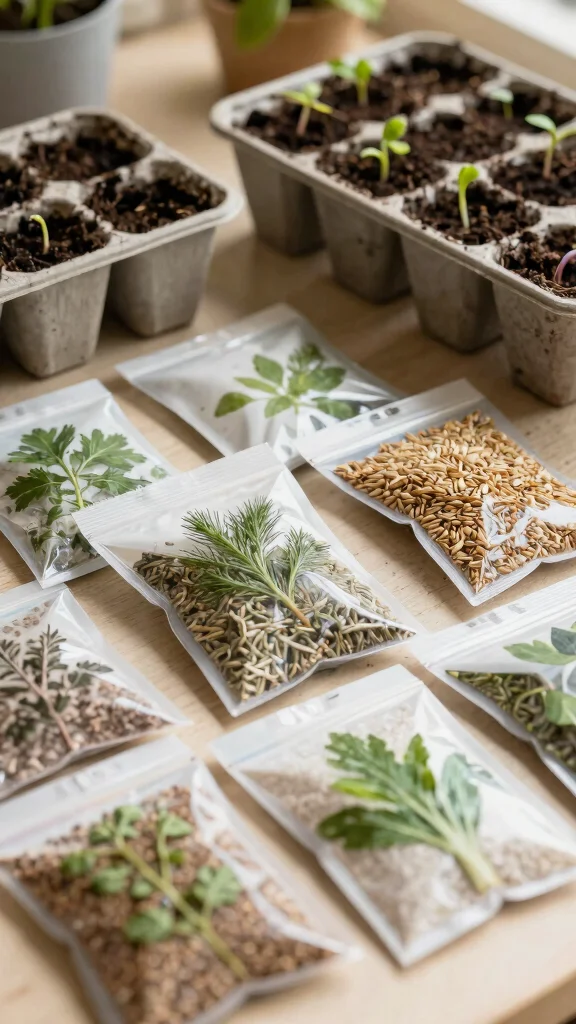
Selecting the right seeds is the first step to a thriving indoor garden. Focus on seeds that flourish in smaller containers, like herbs, lettuce, and tomatoes. These options thrive indoors and can easily be moved outside when the weather warms up.
When picking your seeds, think about how much space you have and the light conditions. Some seeds thrive in bright light, while others prefer a bit of shade. Check the seed packets for germination rates and care instructions to ensure your gardening success. Making the right choice here sets the stage for a fruitful indoor garden!
Quick Tips:
– Choose quick-germinating seeds like radishes and beans for fast results.
– Opt for compact or dwarf varieties if you’re short on space.
– Explore heirloom seeds for unique flavors.
This thoughtful selection will enhance your chances for a successful harvest, making your indoor gardening experience both enjoyable and fruitful.
Fun fact: 60% of indoor gardeners see faster sprouts when starting herbs, lettuce, and small tomatoes in compact containers. For planting seeds indoors, pick seeds that suit your space and light—bright light or a touch of shade—and always check germination rates on the seed packets.
Recommended Products

Upgraded with Adjustable Ventilation - Gardzen seed starter tray has been newly upgraded with two air vents added to the top, allowing you to easily adjust the ventilation for optimal seed growth. Say goodbye to stagnant air and hello to thriving plants!

Monitor Your Plants Easily: The high-quality, clear plastic of these cell trays lets you observe your plants without disturbing their root growth.

GROW LIKE A PRO: Complete indoor seed starting set includes two 36 cell planting trays, two plant stands, one self-watering mat, one water reservoir tray, 72 super growing pellets, and a dome cover. Place super growing pellets flat-side down, and add warm water slowly for maximum expansion.
Choose the Right Seeds for Indoor Gardening
Editor’s Choice

Gift for Women, Mom, Her – 9 Herb Indoor Window Garden Kit | Complete …


GooingTop LED Grow Light,6000K Full Spectrum Clip Plant Growing Lamp wit…

SunGro Horticulture Seedling Mix – Organic Seed Starting Mix – 8 Quart -…
2. Create a Suitable Growing Environment
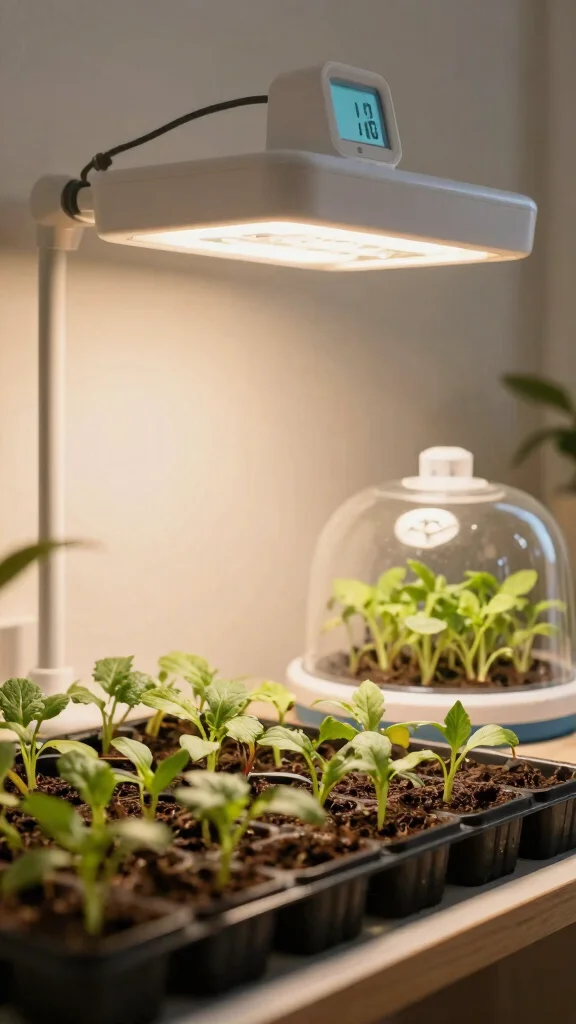
A proper growing environment is vital for nurturing healthy seedlings. Ensure your indoor area provides enough light, warmth, and humidity for optimal growth. Most seeds thrive with at least 12-16 hours of light daily, which you can supplement with grow lights if natural sunlight isn’t sufficient.
Temperature is also crucial; seeds generally prefer 65-75°F (18-24°C). Using a heat mat can help warm seeds that need a little extra heat. Maintaining humidity is important too—covering seedlings with a humidity dome can help keep moisture until they sprout.
Helpful Hints:
– Rotate trays regularly to ensure even light exposure.
– Use a thermometer and hygrometer to keep an eye on conditions.
– Set up a small fan nearby to improve air circulation and reduce mold risk.
Establishing these conditions will not only support your seedlings but also make your indoor gardening journey more rewarding!
Recommended Products

12-LED GROW LIGHT PER TRAY — Each of the five seed starting trays features a full-spectrum grow light with 12 LED beads, providing supplemental light for indoor seedlings.

【Seed Starter Trays with Grow Lights】The seed starting trays are a convenient and compact way to grow flower, vegetable, and plant seedlings. Our seed starter kit comes with full-spectrum plant grow lights, can artificially control light quality, light intensity, and light cycle, so that plants are always in the best growing environment, resulting in rapid, natural growth and abundant harvests.

【Full-Spectrum Growth Acceleration】 Equipped with 4 premium LED light strips (80 lamp beads total), our system provides 360° full-spectrum coverage that perfectly mimics natural sunlight. With 3 selectable lighting modes (Red, Blue, or Mixed), 5 adjustable brightness levels, and a smart 3/6/12H auto-timer, you can precisely match the light intensity to your plant’s growth stage, ensuring faster, healthier, and more robust seedling development.
Create a Suitable Growing Environment
Editor’s Choice

VIVOSUN Durable Waterproof Seedling Heat Mat 10″ x 20.75″ UL & MET-Certi…

7 Inch Propagation Dome – 5 Pack Humidity Vented Domes – Plant Growing…
GooingTop LED Grow Light,6000K Full Spectrum Clip Plant Growing Lamp wit…
3. Use Quality Seed-Starting Mix
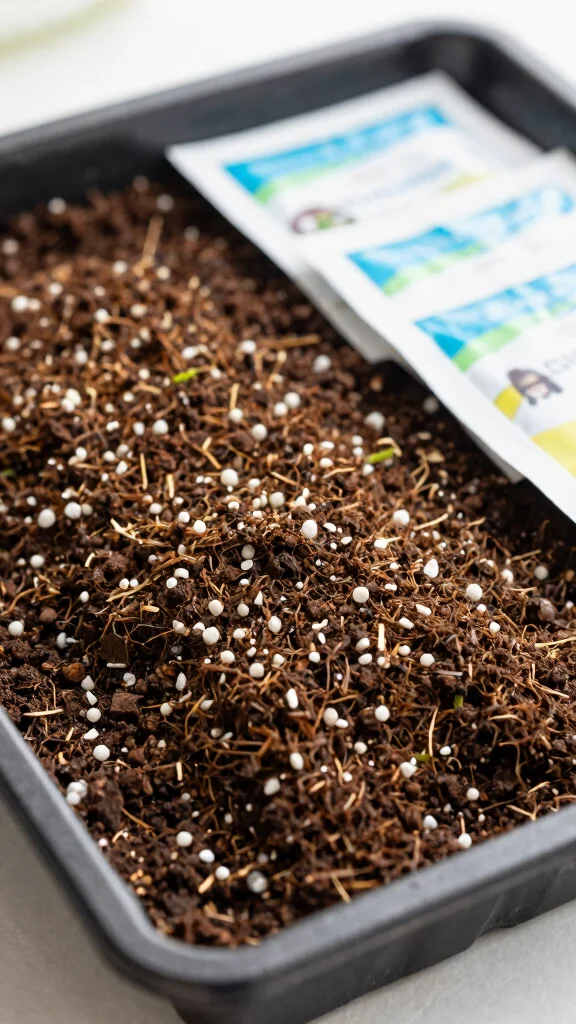
The soil type you choose can greatly influence your plants’ growth. Specialty seed-starting mixes are lighter and provide better drainage than regular potting soil, which is crucial for delicate seedlings. These mixes typically contain peat moss, vermiculite, and perlite, creating an ideal environment for germination.
Avoid using garden soil, as it may contain pests and diseases harmful to seedlings. Remember to moisten the mix before planting to help your seeds develop strong roots right from the start.
Seed-Starting Mix Tips:
– Seek organic options that lack chemical fertilizers.
– Pre-moisten the mix to eliminate dry pockets affecting germination.
– Consider mixing equal parts peat, perlite, and vermiculite for best results.
Choosing high-quality seed-starting mixes will set your seedlings up for success from the get-go.
Recommended Products

Reliable Results: The VIVOSUN professional heat mat maintains optimal temperatures around 68-86℉ (20-30℃), perfect for Seedling start and cutting propagation; Made from durable PVC material, it's designed to last

Reliable Results: The VIVOSUN professional heat mat maintains optimal temperatures around 68-86℉ (20-30℃), perfect for Seedling start and cutting propagation; Made from durable PVC material, it's designed to last

✓ Consistent & Uniform Heating: BN-LINK seedling heat mat maintains temperatures around 70–85℉, creating ideal conditions for seed starting and cutting propagation, speeding up germination and accelerating growth. The advanced heating film with double insulation layers ensures even heat and prevents scorching roots.
How To Choose The Right Seeds for Indoor Gardening
Choosing the right seeds is the foundation of successful indoor gardening. The variety you select can influence growth and yield. Here are some key factors to consider when selecting seeds for indoor planting:
1. Seed Variety
Start by identifying what you want to grow. Consider your climate, space, and light availability. Herbs, leafy greens, and dwarf varieties of vegetables are often great choices for indoor gardening. Additionally, think about whether you prefer hybrid or heirloom seeds. Hybrids may offer better disease resistance, while heirlooms provide unique flavors and traits.
2. Germination Rate
Check the seed packet for information on the germination rate. This percentage indicates how many seeds are likely to sprout. A higher germination rate means you’re more likely to get strong seedlings. Look for seeds with a germination rate of at least 80% for best results.
3. Days to Maturity
Knowing the days to maturity will help you plan your indoor gardening schedule. Some seeds mature faster than others. For instance, lettuce can be ready in as little as 30 days, while tomatoes may take 70-90 days. Choose seeds that match your timeline for spring gardening preparation.
4. Disease Resistance
Select seeds that are resistant to common pests and diseases. Look for labels that specify disease-resistant varieties. This can save you time and stress later on, as these plants are less likely to suffer from typical ailments.
5. Local Adaptation
Choose seeds that are well-suited for your local environment. Some varieties perform better in certain climates and conditions. If possible, look for seeds that have been bred specifically for indoor growing or for your region’s climate.
6. Organic vs. Conventional
Decide whether you want to use organic seeds or conventional ones. Organic seeds are grown without synthetic pesticides or fertilizers. If you prefer a more natural approach, organic seeds are a safer choice for indoor gardening.
Pro Tip: Consider starting with a seed starting kit that includes various seed types. This way, you can experiment and find which varieties thrive best in your indoor setup. Remember to keep a gardening journal to track your successes and challenges for future planting seasons!
Recommended Products
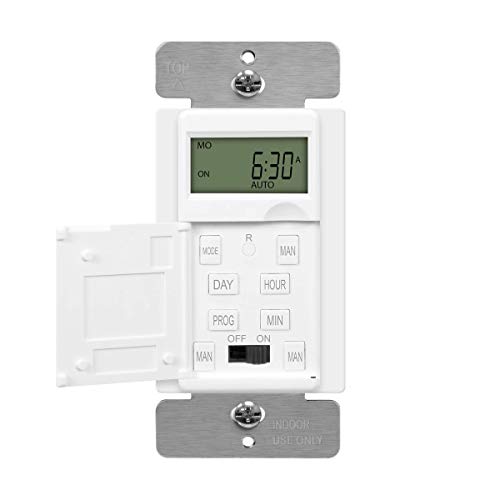
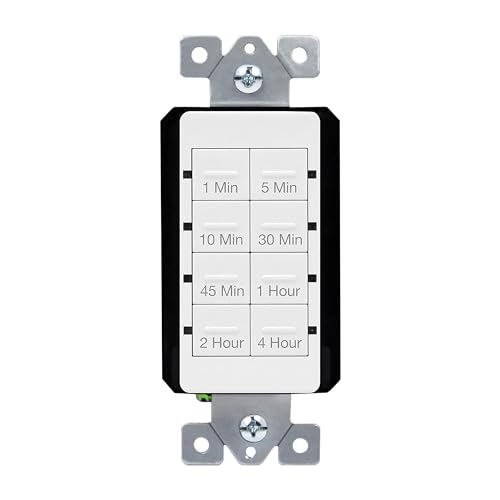
Programming Convenience: Set schedules to control your indoor and outdoor lights, fans, sprinklers, and motors to turn on and off automatically at the present time.

Powerful & Quiet: Powered by an upgraded dual ball bearing EC motor, this clip fan delivers powerful 320 CFM airflow at a noise level of just 33 dB(A); The local timer provides 3 cycle settings, making it easy to customize air circulation
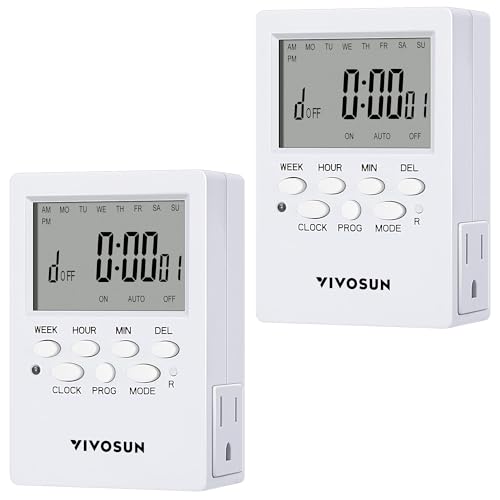
Customize Your Own Timer Programming: This 7-Day digital timer can easily set up to 20 on/off programs groups with a minimum interval setting time of 1 min and a maximum of 7 days; Taking into account of different needs, 8 preset combinations of working days can be chosen to make each event occur every day
Use Quality Seed-Starting Mix
Editor’s Choice

Miracle-Gro Indoor Potting Mix for Seed Starting, For Starting Vegetable…

Back to the Roots 100% Organic Vermiculite | Made in the USA | Premium N…

Miracle-Gro Sphagnum Peat Moss – Enriched with Plant Food, Add to Pottin…
4. Water Wisely and Monitor Moisture Levels
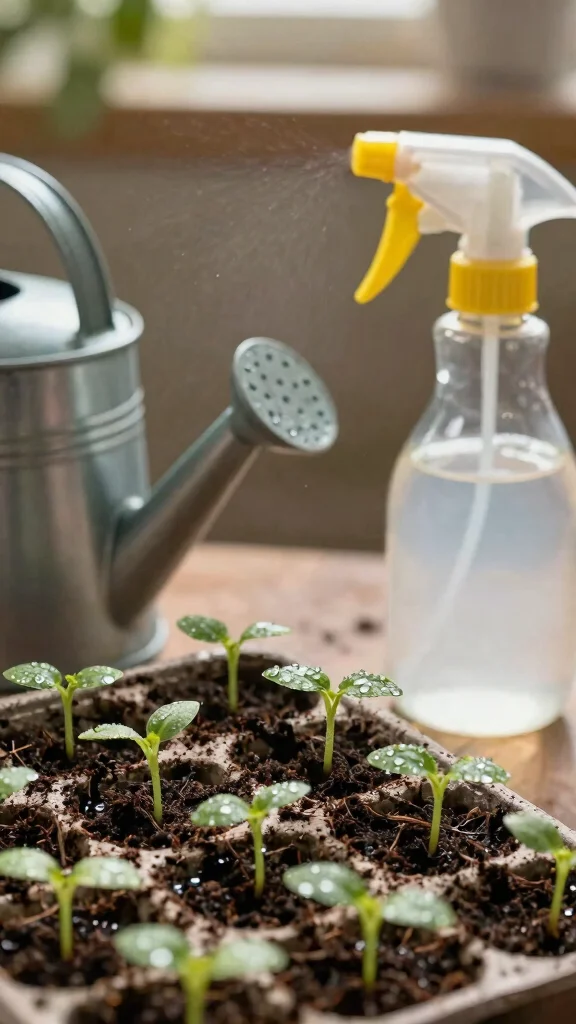
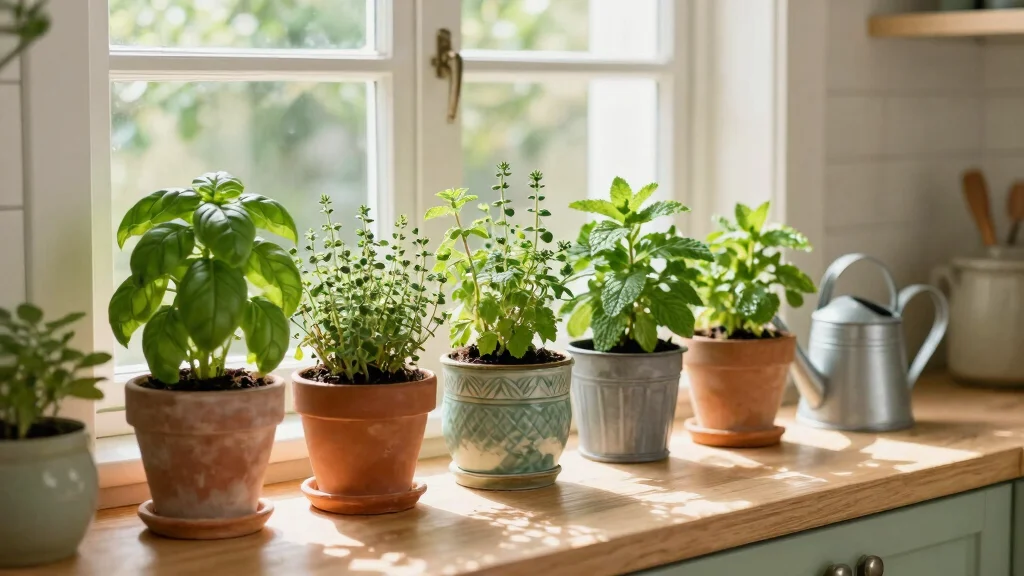
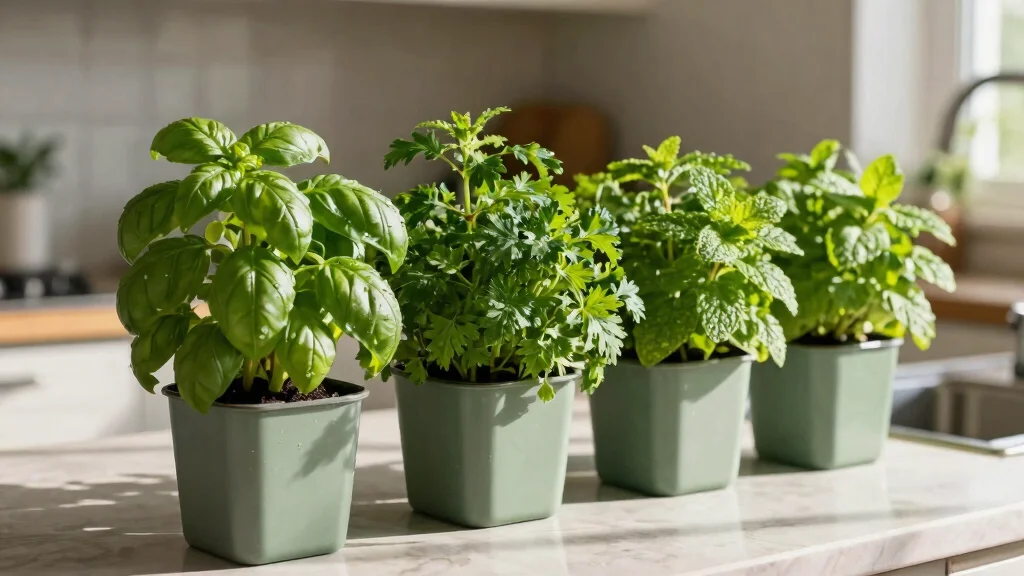
Watering young seedlings requires careful attention. Too much water can cause root rot, while too little can stress your plants. Your goal should be to keep the soil evenly moist, but not soggy. A spray bottle or a watering can with a fine spout can help you control water distribution effectively.
Check moisture levels daily, especially if you’re using a heat mat or grow light, as these can dry out the soil quickly. Bottom watering can also be beneficial, promoting deep root growth without over-saturating the surface layer.
Watering Tips:
– Water when the top inch of soil feels dry.
– Avoid splashing water on leaves to prevent mold.
– Use a moisture meter for accurate readings.
Being mindful about watering will lead to healthier, stronger seedlings.
Recommended Products

VERSATILE SEED STARTING: Ideal for germinating seeds in flats, pots, and plug trays. This seed starter mix supports healthy root development for vegetables, herbs, and flowers.

READY TO USE MIXTURE - The same formulation as used by professional growers

You will receive a 12-quart bag per purchase.
You might also like
Water Wisely and Monitor Moisture Levels
Editor’s Choice

JapanBargain 1942, Japanese Long Spout Watering Can for Bonsai Succulent…
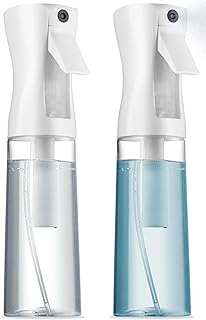
SUPER+ 2 Pack Continuous Spray Bottles – Ultra Fine Mist Sprayer | Water…

XLUX Long Probe Deep Use Soil Moisture Meter Sensor, Water Monitor Indic…
5. Provide Air Circulation and Ventilation
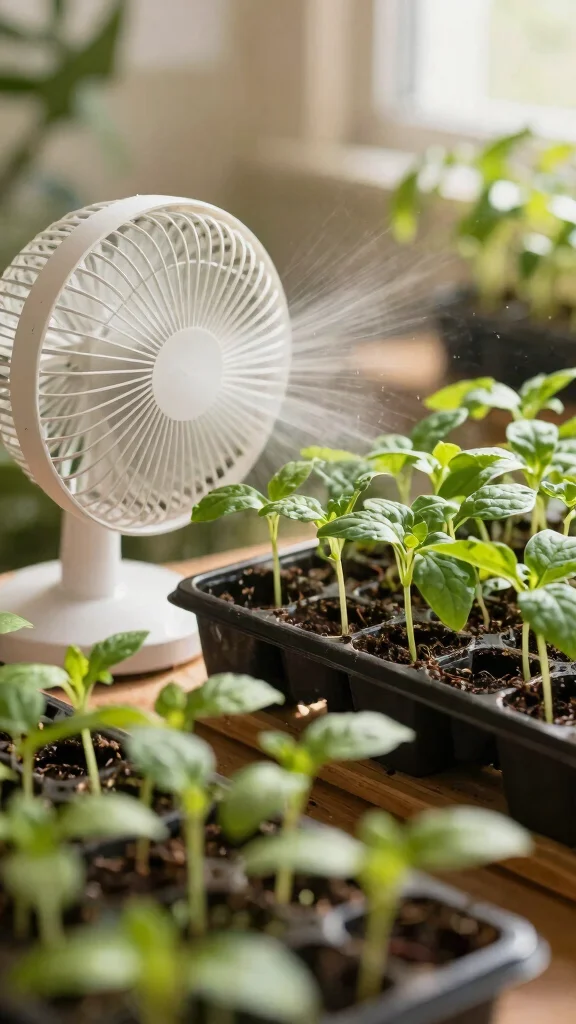
Good air circulation is essential for preventing diseases and helping seedlings grow sturdy stems. Stagnant air can lead to problems like damping-off, a quick-killing fungal disease. To combat this, ensure your indoor growing area has proper ventilation.
A small fan on a low setting can create gentle air movement without blowing over your seedlings. If feasible, open windows to allow fresh air in and keep the environment dynamic. Proper airflow not only promotes healthy seedlings but also encourages robust growth.
Airflow Tips:
– Position fans for a gentle breeze, avoiding direct blasts.
– Rotate trays to ensure even air distribution.
– Watch for mold and adjust airflow as needed.
Creating a well-ventilated environment will support your seedlings’ overall health and vitality.
Fun fact: Proper air circulation can reduce damping-off by up to 70% in indoor seed starting. A small fan on a low setting creates gentle movement, and opening a window adds fresh air so seedlings stay strong when planting seeds indoors.
Recommended Products

Pro Grow Lights with Advanced Chips: Equipped with 56 high-efficiency beads per tray, these LED strips simulate natural sunlight for optimal seedling growth. Adjustable brightness and timer functions let you customize lighting for every plant stage, promoting faster, healthier growth—perfect for herbs, flowers, and more


Adjustable Vents: The seed trays have adjustable vents that allow you to regulate the temperature and humidity of your seedling environment for total control over the growing process.
📹 Related Video: Why You Need Fans for Seedlings
Provide Air Circulation and Ventilation
Editor’s Choice

5” Grow Tent Clip Two Fans with Adjustable Clamp, 3-Speed Strong Quiet…

Hotsales Clip-On Portable Fan, 13500 RPM Rechargeable Handheld Mini Fan …
6. Fertilize Sparingly
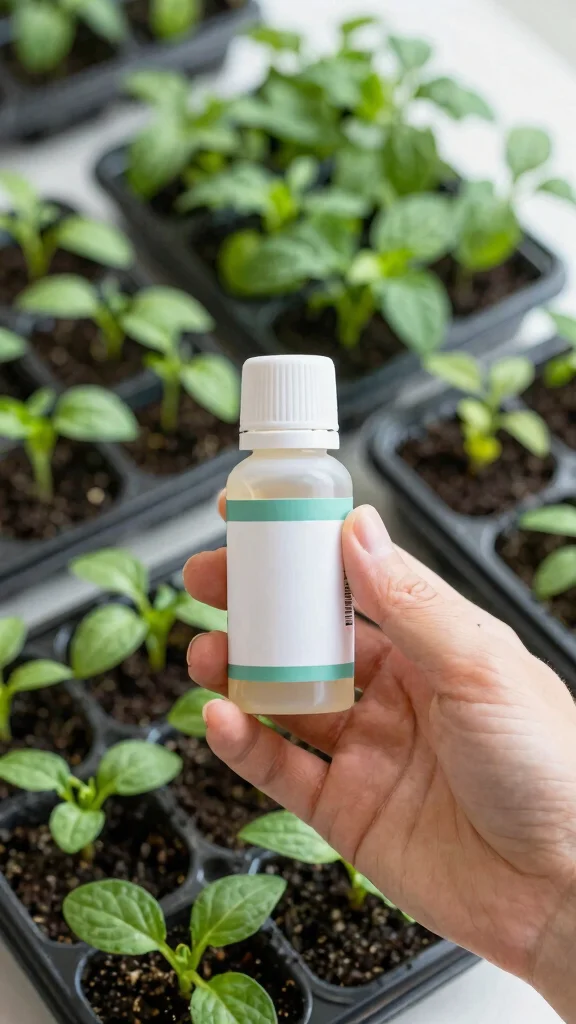
Seedlings don’t require many nutrients at the start, but the right fertilizer can boost their growth. Once they develop their first true leaves, usually about two weeks after germination, lightly feed them with a diluted, balanced liquid fertilizer.
Be cautious not to over-fertilize, as this can burn roots and stunt growth. Look for fertilizers designed specifically for seedlings or organic options that provide gentle nourishment.
Fertilizing Tips:
– Start with a half-strength solution to prevent shocking plants.
– Fertilize every 2-4 weeks based on their growth.
– Monitor for signs of nutrient deficiency like yellow leaves.
Using fertilizer wisely will help your seedlings grow strong and prepare them for transplanting in spring.
Fun fact: Planting seeds indoors means seedlings only need a light, diluted fertilizer after their first true leaves appear—about two weeks post-germination. Use a balanced mix and avoid over-fertilizing to prevent root burn.
Recommended Products
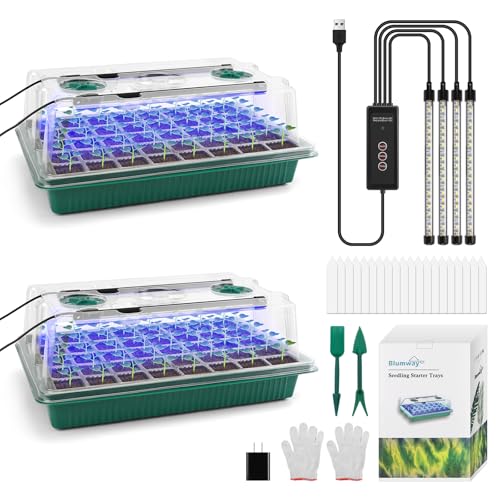
【360°Spectrum Seed Starter Tray With Grow Light】 Larger grow light cover spectrum for better seedling grow, the seed started kits have 4 full spectrum strip seed grow lights insert on the Dome of the garden plant starter kit. Now you can adjust and timed the light as you need! White& blue Light will help seedling growing faster and better. You can use this product by USB port or just plug-in,3 lighting modes & 3 timing functions (3H/6H/12H) & 5 brightness modes, the best tool for your garden

Clear Dome, Adjustable Vents: Includes a transparent dome for easy observation without disruption of humidity levels; Two adjustable air vents help control humidity and temperature to keep your plants on the right track; Handle makes lifting the dome easy; Snap makes the user's experience better

【Upgraded Elevated Humidity Dome for Versatile Growing Needs】MIXC elevated adjustable humidity dome offers extra space and comfortable temperature for seedlings, giving your plants more room to grow before transplanting. Ideal for flowers, fruits, vegetables, and more.
Fertilize Sparingly
Editor’s Choice

Chef Craft Classic Plastic Shot Glass Measurer, 1 ounce teaspoon/tablesp…

Seedling Fertilizer – Liquid Plant Food for Strong Root Development & …
7. Harden Off Your Seedlings Before Transplanting
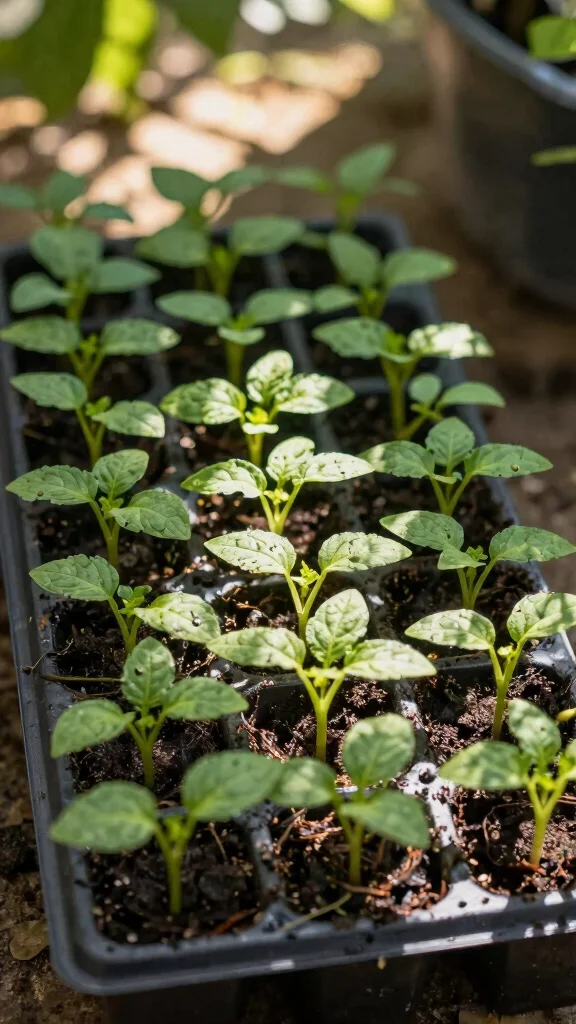
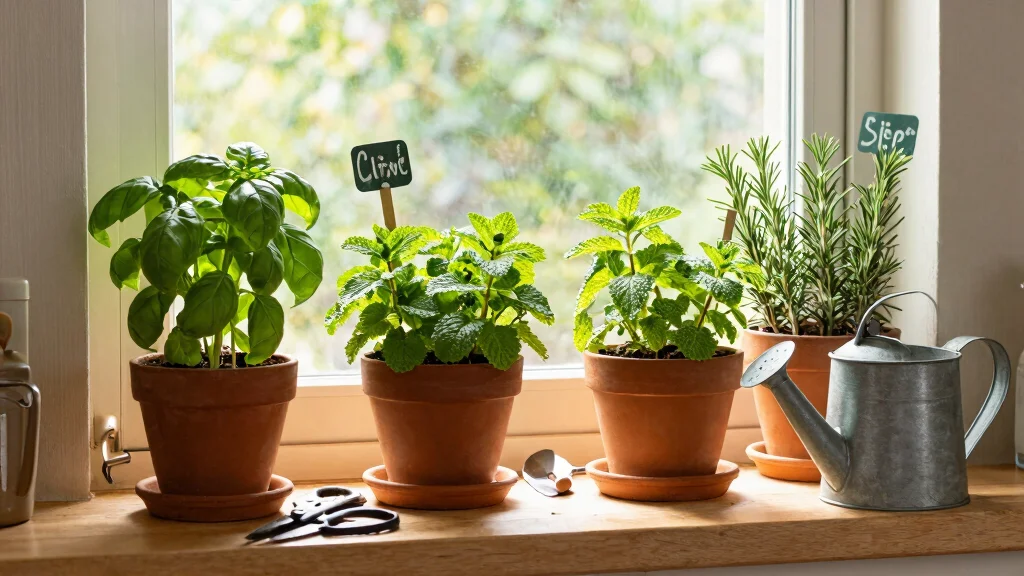
Before moving your seedlings outdoors, acclimatizing them to the outside environment is essential. This process, known as hardening off, helps prevent transplant shock that can harm young plants. Start by placing your seedlings in a sheltered area outside for a couple of hours daily, gradually increasing their sun and wind exposure over a week or two.
During this adjustment phase, keep an eye on temperatures and protect seedlings from harsh conditions. Once they’re adequately acclimated, they’ll be ready to thrive in your garden.
Harden Off Tips:
– Begin with shade for the first few days, then gradually introduce sunlight.
– Bring them indoors at the first sign of cold or strong winds.
– Always check soil moisture, as outdoor conditions can differ from indoors.
Preparing your seedlings for outdoor life will lead to a more successful garden in spring!
Recommended Products

DIMENSIONS: This Seedling Heat Mat measures 10 x 20.75 inches, perfect size for seed starting trays and providing consistent warmth to improve germination

Professional Thermal Pad Materials: Made of durable PVC and PET film designed to meet MET standards; Far-infrared heating technology facilitates better resistance to high pressure; The IP67-rated waterproof surface is safe to scrub and helps keep the device clean and functioning properly

SEEDLING HEATING MAT DESIGN: Each newly upgraded mat is equipped with an independent thermostat and temperature sensor, allowing you to set and maintain a constant temperature
You Might Also Like
Harden Off Your Seedlings Before Transplanting
Editor’s Choice
VIVOSUN Durable Waterproof Seedling Heat Mat 10″ x 20.75″ UL & MET-Certi…

AlpineReach Plant Covers Frost & Sun Protection 10 x 30 ft – Thick 1.2 o…

25PCS Garden Cloches for Plants with 50PCS Ground Stakes,Reusable Plant …
8. Keep a Gardening Journal
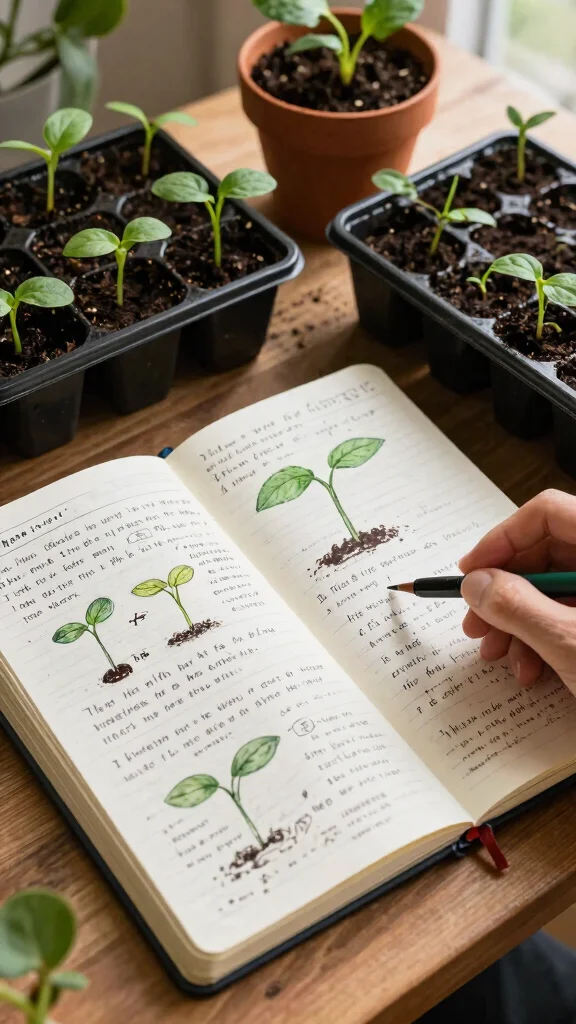
Keeping a gardening journal can be both rewarding and informative. Documenting your journey helps you track seedling progress, successful methods, and lessons learned from mistakes. This practice allows you to refine your indoor gardening techniques with each season.
Consider recording germination dates, watering schedules, and observations about plant health. Over time, your journal will become a valuable resource for future gardening endeavors.
Journal Tips:
– Include photos to document growth stages visually.
– Reflect on what worked well and what didn’t for improvement.
– Share experiences with fellow gardeners for additional insights.
Maintaining a gardening journal deepens your connection to your plants and enhances your indoor gardening skills.


Keep a Gardening Journal
Editor’s Choice

Clever Fox Gardener’s Journal – Guided Gardening Notebook to Plant V…
Conclusion
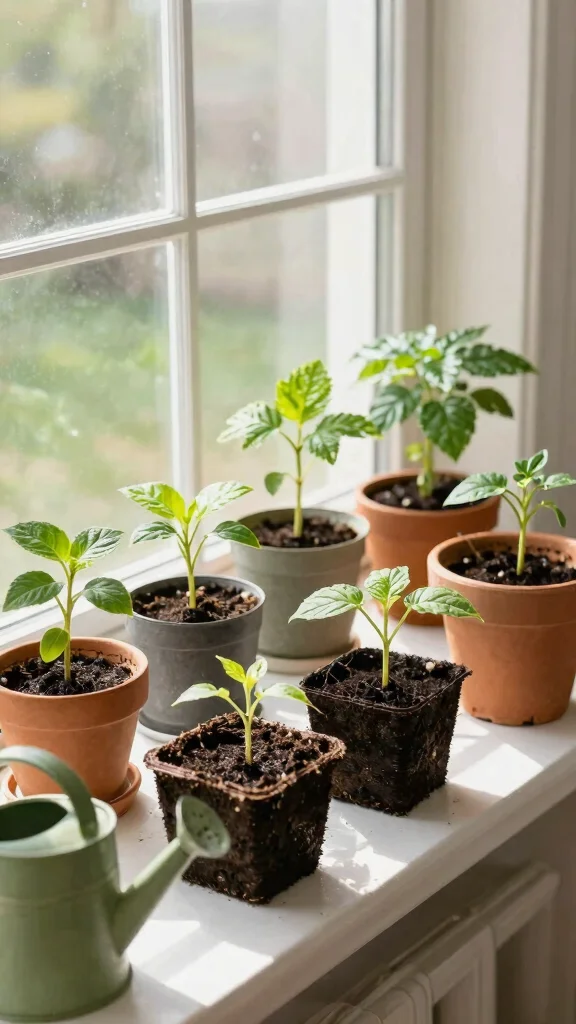
Embarking on the journey of planting seeds indoors can be a truly enriching experience, setting the stage for a vibrant spring garden. By incorporating these tips into your seed-starting routine, you’ll foster healthy, strong seedlings that are ready to thrive in the great outdoors.
So, gather your supplies, embrace the indoor gardening techniques, and prepare for a bountiful season ahead!
Note: We aim to provide accurate product links, but some may occasionally expire or become unavailable. If this happens, please search directly on Amazon for the product or a suitable alternative.
This post contains Amazon affiliate links, meaning we may earn a small commission if you purchase through our links, at no extra cost to you.
Frequently Asked Questions
What is the best way to start planting seeds indoors to grow strong seedlings before spring arrives?
To start planting seeds indoors for strong seedlings before spring arrives, you’ll want clean containers, a light, well-draining seed starting mix, and steady warmth. For most vegetables and herbs, follow solid seed germination tips: use shallow trays, sow according to seed size, barely cover tiny seeds, or press larger seeds just into the surface. Keep the medium evenly moist but not soggy, and use a bottom-heating mat if your room runs cool. When sprouts appear, switch to seedling care—bright light, gentle air movement, and regular feeding so plants stay sturdy as starting plants indoors progresses.
How can I ensure proper seedling care after germination while indoors?
After germination, give seedlings strong light, stable temperatures, and good air circulation. Water carefully to keep the medium moist but not soggy, and water from the bottom when possible to prevent damping off. Thin crowded seedlings to keep space for roots, and feed with a light, balanced fertilizer as needed. Keep an even humidity level and watch for pests. This is all part of seedling care and indoor gardening techniques, so your plants stay healthy as they grow.
Do I need grow lights for planting seeds indoors, or can natural light work for spring gardening preparation?
Natural light can work if you have a bright, south-facing spot and can provide around 12-16 hours of light daily, but most indoor setups benefit from grow lights. Use full-spectrum LEDs or fluorescent tubes, place lights 2-4 inches above seedlings, and run them on a timer to mimic long days for robust seed germination tips and steady seedling care. In tight spaces, you can combine natural light with artificial lighting for the best results in starting plants indoors.
What are common mistakes when planting seeds indoors, and how can I avoid them?
Common mistakes include overwatering, underwatering, insufficient light, and high humidity leading to damping off. Avoid by using well-draining seed starting mix, proper containers, and bottom drainage. Space seedlings correctly, remove extra humidity sinks, and maintain a comfortable temperature for germination (around 65-75°F). Regularly check for pests and air circulation; these habits support healthy seedling care and indoor gardening techniques as you prep for spring.
How can I use hydroponic methods to start seeds indoors before spring arrives?
Hydroponic seed starting can be fast and clean. Use starter plugs or rockwool, keep pH in the 5.5-6.5 range, and feed with a diluted nutrient solution once germination starts. Ensure plenty of dissolved oxygen to roots and good air circulation, monitor EC, and avoid overfeeding. Once seedlings show strong roots and true leaves, transplant to soil or a larger hydroponic setup. This approach fits well with indoor gardening techniques and starting plants indoors for spring gardening preparation.
Related Topics
indoor gardening
seedling care
hydroponic techniques
seed germination
starting plants indoors
spring preparation
beginner friendly
easy gardening tips
indoor planting
green thumb
growing seedlings
hydroponics for beginners